Switching the OS on a PXE booted Raspberry Pi 4B

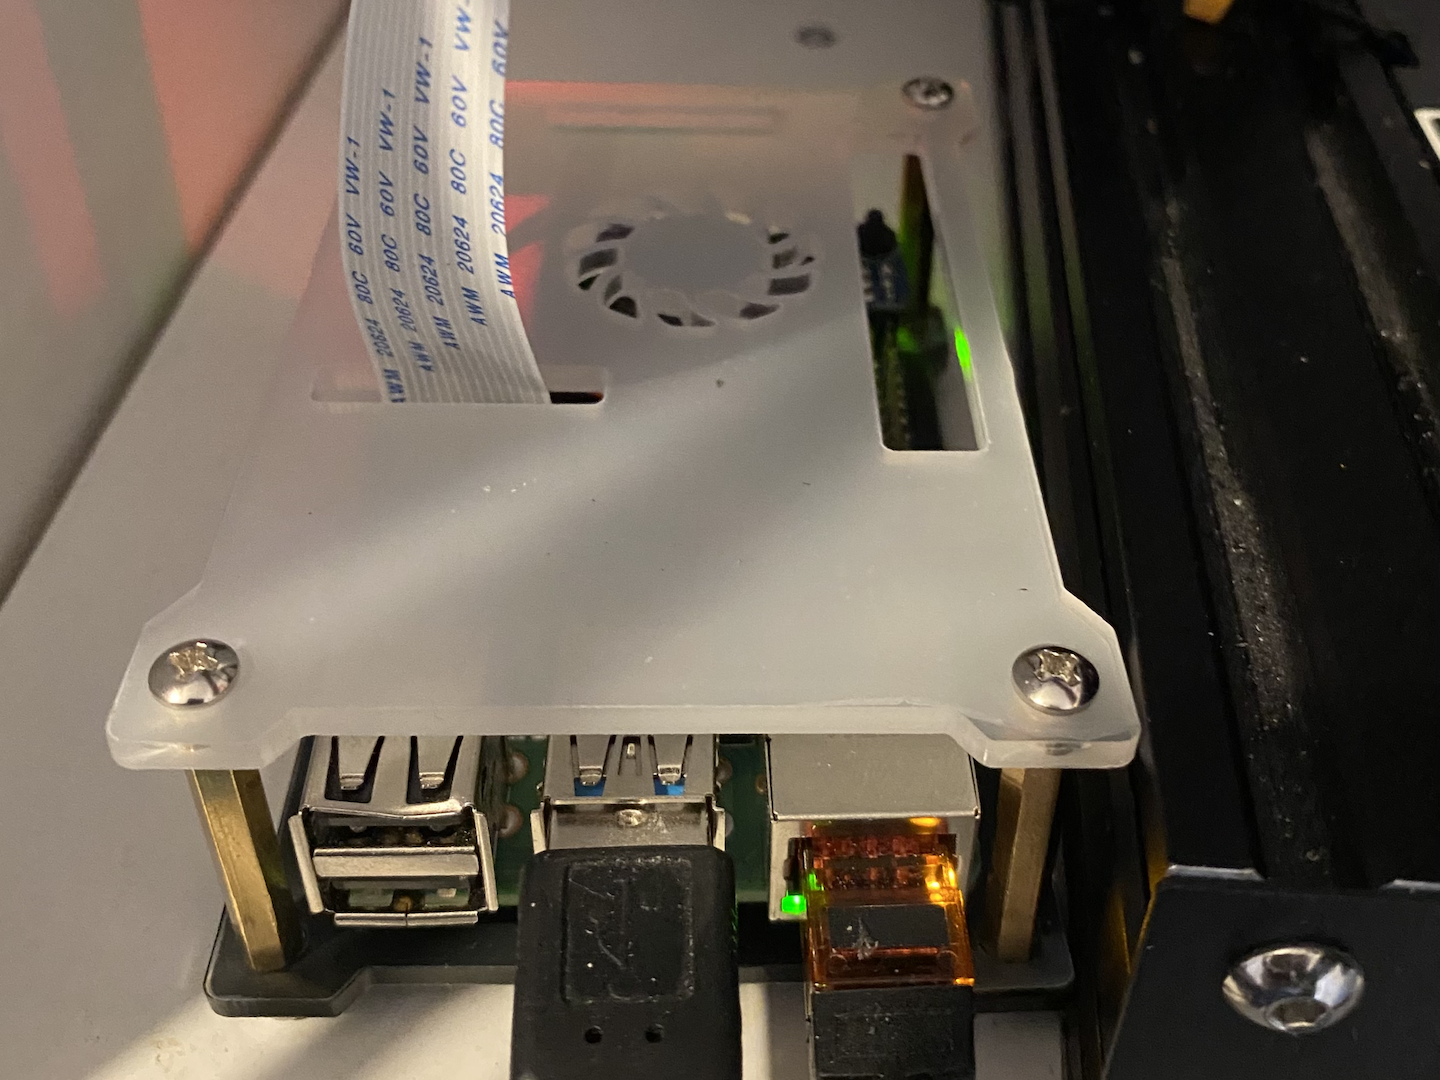
I have a Raspberry Pi 4B that I boot from the network (PXE boot). It is connected to my 3-D printer and used to run OctoPi but I recently switched it to MainsailOS and then moved back to OctoPi. The interesting thing is that I did not have to flash a microSD card when making these switches.
Yes, once you set up your Pi4B to netboot, you can change the files on your file server and change the OS for the Pi without using a microSD card. I could not find a good tutorial for this part but I saw no reason for it to not work, so I decided to try it and had no issues setting it up. I will detail the steps in the latter part of this post.
How to set up PXE boot on the Pi 4B?
Original guides that I followed to initially set up the Pi to PXE boot:
These guides may be outdated now so it is a good idea to do your own research if you are planning to do it yourself.
The setup process varies a bit depending on your network configuration. I have a UniFi router and an openmediavault NAS server so the following instructions are specific to this setup. I will just summarize what I did here.
Download the minimal Raspberry Pi OS image (Raspberry Pi OS Lite) and dd it to a micro SD card.
Make sure to touch boot/ssh to enable ssh
Boot the Pi from the microSD card.
Login to the Pi with SSH and get its device id / serial.
vcgencmd otp_dump | grep 28: | sed s/.*://g You will get a string that looks like 30e2040f. Save it somewhere.
Set up two folders for boot and roots on your NAS and then mount them via NFS on the Pi and then rsync your /boot to the share for TFTP under a directory named 30e2040f (or whatever device id). Then rsync your Pi's rootfs to the other NFS share.
Change your cmdline.txt in /boot on the Pi to something like
console=serial0,115200 console=tty1 root=/dev/nfs nfsroot=192.168.10.100:/export/raspberrypi,vers=3 rw ip=dhcp elevator=deadline rootwaitConfigure your eeprom to boot from network when SD card is not present
Copy the following content to a file named boot.conf
BOOT_UART=0
WAKE_ON_GPIO=1
POWER_OFF_ON_HALT=0
[all]
BOOT_ORDER=0xf21
Write it to the eeprom
cp /lib/firmware/raspberrypi/bootloader/stable/pieeprom-2022-08-02.bin pieeprom.bin
rpi-eeprom-config --out pieeprom-new.bin --config boot.conf pieeprom.bin
sudo rpi-eeprom-update -d -f ./pieeprom-new.bin
Edit your /etc/fstab on the Pi to setup your rootfs and /boot to use NFS mounts
192.168.10.100:/export/30e2040f	/boot           nfs    defaults          0       2
192.168.10.100:/export/raspberrypi	/               nfs    defaults,noatime  0       1
Go to openmediavault's webui and set up the TFTP service. And then go to your router settings and set TFTP ip in DHCP settings. In my case the UniFi controller's mobile app had this option under the DHCP settings for my VLAN that I connect my Pi to.
Remove the SD card and reboot the Pi. It should boot from the network.
PS: I had no issues PXE booting a second Pi by adding the contents of its /boot under a second directory inside the TFTP share. The directory should be named by its device id just like we did for the first one. In the fstab for the second Pi, make sure to change the mount points to the new directories.
Now to the more interesting part
To switch Operating Systems
I am going to switch from the original install to OctoPi now
Go to OctoPi's GutHub page and find the link to the latest stable release.
 wget https://unofficialpi.org/Distros/OctoPi/octopi-bullseye-armhf-lite-1.0.0.zip
 unzip octopi-bullseye-armhf-lite-1.0.0.zip
You should get the img file now. In my case it is named 2022-09-22-octopi-bullseye-armhf-lite-1.0.0.img
Now we need to mount the image. Since we typically have two partitions in this image we mount them separately in two steps using the mount command. Let's first look at how our file systems inside this img file look like
fdisk -l 2022-09-22-octopi-bullseye-armhf-lite-1.0.0.imgThe output looks like
Units: sectors of 1 * 512 = 512 bytes
Sector size (logical/physical): 512 bytes / 512 bytes
I/O size (minimum/optimal): 512 bytes / 512 bytes
Disklabel type: dos
Disk identifier: 0xb1214a26

Device                                           Boot  Start     End Sectors  Size Id Type
2022-09-22-octopi-bullseye-armhf-lite-1.0.0.img1        8192  532479  524288  256M  c W95 FAT32 (LBA)
2022-09-22-octopi-bullseye-armhf-lite-1.0.0.img2      532480 5677057 5144578  2.5G 83 Linux
Note down the following values: The sector size (512), start and size of each partitions - (8192, 532480) and (524288, 5144578) in my case.
Now to mount these partitions
mkdir boot rootfs
sudo mount 2022-09-22-octopi-bullseye-armhf-lite-1.0.0.img -o loop,offset=$(( 512 * 8192)),sizelimit=$((524288*512)) boot
sudo mount 2022-09-22-octopi-bullseye-armhf-lite-1.0.0.img -o loop,offset=$(( 512 * 532480)),sizelimit=$((5144578*512)) rootfs
ssh to the Pi and shut it down.
sudo poweroffNext step is to replace the files on the NFS and TFTP shares that the Pi uses.
But before that, since we do not want to break the PXEboot setup itself, let's backup the two files cmdline.txt and /etc/fstab which are critical to this
cp /shares/rpi-tftb/30e2040f/cmdline.txt ./
cp /shares/rpiboot/rpi-pxe/raspberrypi/etc/fstab ./
make sure that the files have the right content (the NFS mount points correctly set to the NAS etc.)
Now, copy the new OS to the respected shares on the NAS with rsync
rm -rf /shares/rpiboot/rpi-tftb/30e2040f/*
rsync -av boot/* /shares/rpiboot/rpi-tftb/30e2040f/
rm -rf /shares/rpiboot/rpi-pxe/raspberrypi/*
rsync -av ./rootfs/* /shares/rpiboot/rpi-pxe/raspberrypi/
Remember to put the cmdline.txt and fstab files back where they belong
cp cmdline.txt /shares/rpiboot/rpi-tftb/30e2040f/cmdline.txt
cp fstab /shares/rpiboot/rpi-pxe/raspberrypi/etc/fstab
Turn on the pi by whatever method you use to do a cold boot. In my case since I power it via a POE hat, I just go to the UniFi App on my cellphone and ask it to power cycle the port where it is connected to my Switch.
Your Raspberry Pi 4B should boot into OctoPi now.